Moving a database and media items to a new environment or project

Migrating Databases and Media in Umbraco Cloud

Guide: Moving a database and media items to a new environment or project

This guide will aid you in transferring the content and media items from one project to another or from one environment to another.
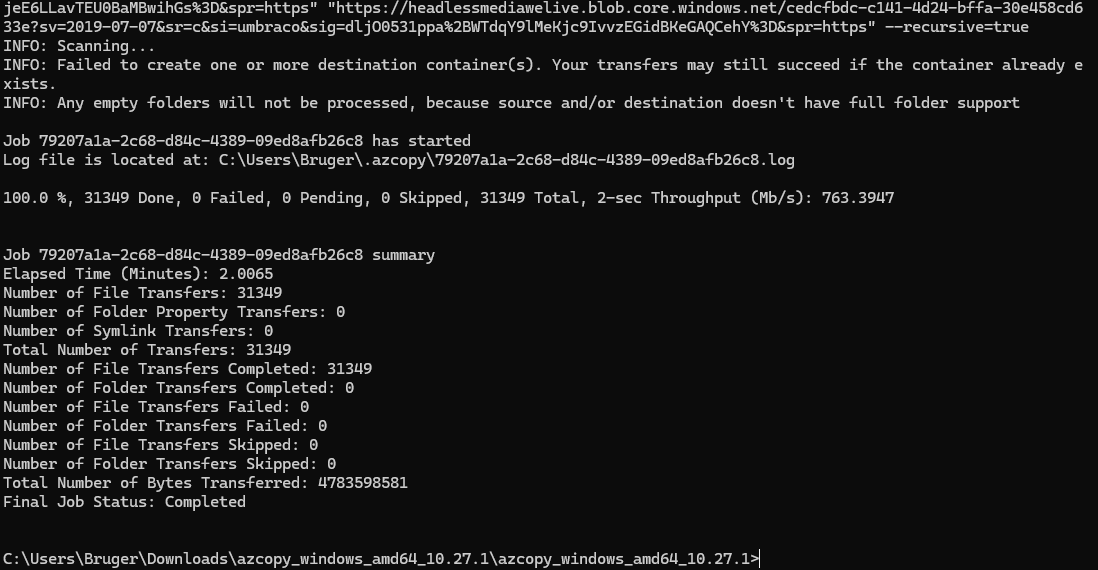
It will teach you how to backup an environment database and how to use Azcopy to transfer the contents of an Azure Blob storage to another.

Let's start -- follow these steps:

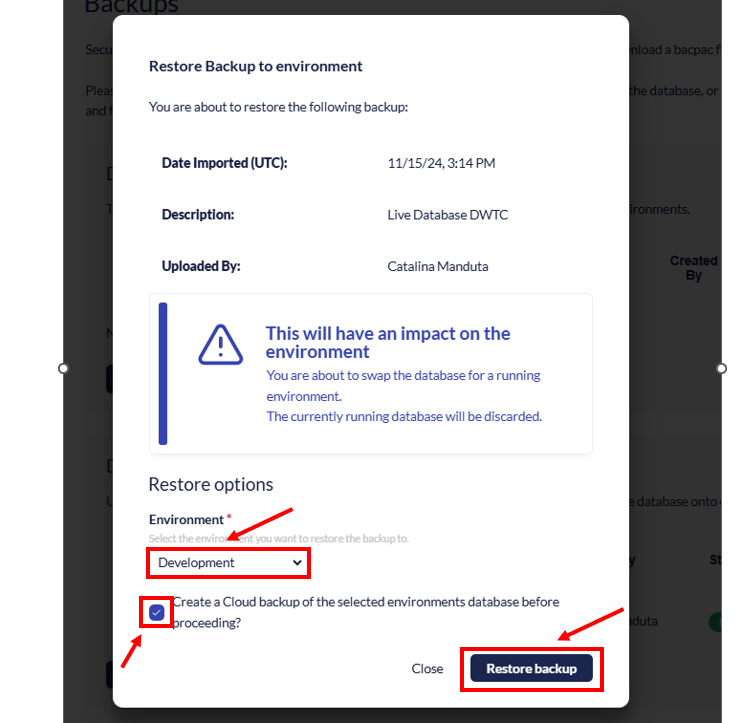
  1. First, we must create a new backup of the database that we want to transfer:


  1. Next, download and upload the bacpac file to the target project or to the same project, depending on the need.

  1. Check if things look alright after the database restore.
    Congrats, the database has been successfully restored on the target environment. 

  2. Time to transfer the media files from the Azure Blob Storage of source environment to target environment:

    • Download AZCopy using the provided link (make sure to download the correct binary your computer supports)
      Once downloaded, you will have a zipped file.

  3. Extract all files from the zip archive.

  4. Open the extracted folder in a terminal or CMD of your preference Make sure you have opened all the way until the azcopy.exe file 

  5. To test if it works you can try the following commands that will show all the AZcopy available commands.
    It will also tell you which command format will work properly, as in some cases it won't show anything when writing the commands below because it might require .\
     .\azcopy list -h
    azcopy list -h

  1. Use the following command to start the copy of the Azure Blob storage from one environment to another:
    .\azcopy copy "SOURCE" "TARGET" --recursive=true
    azcopy copy "SOURCE" "TARGET" --recursive=true

  • Very important!!!
    Make sure to replace the SOURCE and TARGET with the appropriate Shared access signature URL (SAS) links obtained from the connection details page: https://www.s1.umbraco.io/project/cx-13/connection-details 
    Best to do this in a notepad so you can copy paste the command afterwards.

  • When the process starts, it will look something like this:

  • Ensure that the migration is successful by confirming the data is visible and functional in the target environment's backoffice.

  • Feel free to use Microsoft Azure Storage Explorer and connect to the Azure blob storage and check if the Media folders are there on both target/source and they look identical. This is only if you want to. Here's a guide on how to connect.


GOOD JOB! You're done, you have sucessfully moved the database / media items.

Note

When only restoring the database, you will see a bunch of media items/folder in the Media section in the Backoffice however all images will not actually have a file.

These are only the references for each media item that live in the database.

The same goes the other way around.

If you only copy the media items from one environment to another using either the Azure storage explorer or the AZcopy tool, the Media won't show in the backoffice at all because all the database references are missing.